Mission 013 Update: Spray and Pray
Alright, so we’re halfway through the Suppressive Fire mission. Let’s go over a few common uses for suppressive fire and a few common tactics to deal with it.
One thing to remember is that suppressive fire, like everything else in Infinity, is not a hard stop. Active turn tool access, positioning advantage, and weight of dice are often enough to overcome most AROs, up to and including suppression fire.
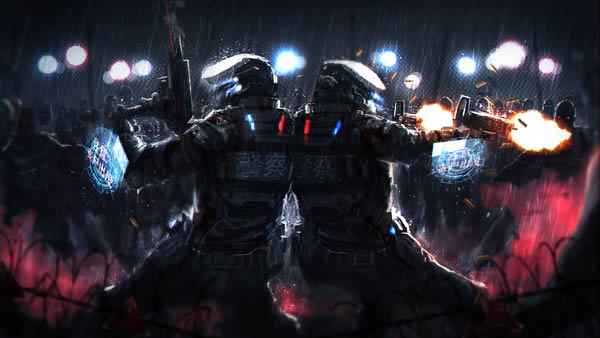
Suppression fire is most often used as an area control tool. Let’s look at a common case–a Fusilier in cover defending an area against a camo infiltrating specialist like a Zero. Without suppressive fire (and no surprise shot), the Fusilier isn’t going to put up much of a fight at 16″.
| 51.21 | 39.12 | 9.66 |
In suppression, things improve. Remember that in the reactive turn, nothing happening is a win for you as you’re draining orders. Using that as a metric, you’re going from a ~50% win rate to a ~65% win rate.
| 35.19 | 41.87 | 22.93 |
It’s not as dramatic a shift as one might expect, but it’s enough to drain an additional order or two, or maybe even take out the Zero. And that’s the point. It’s not a odds shift to the point that it’s a hard stop–but it’s enough that it might be worth the points expenditure.
Of course, if you have your own visual mods, e.g. you’re a Ryuken-9 in cover, then you might actually zero out the active model. This is a fundamentally different scenario than the Fusilier one, but it’s specific to models with TO or ODD, which are comparatively rare. Moreover, they’re generally expensive, specially in the case of TO models.
When putting a TO model into suppression, you’re losing the protection of the camo state to improve your shooting odds. If your intent it to preserve orders and the TO model itself, then you must consider this additional risk when going into suppression.
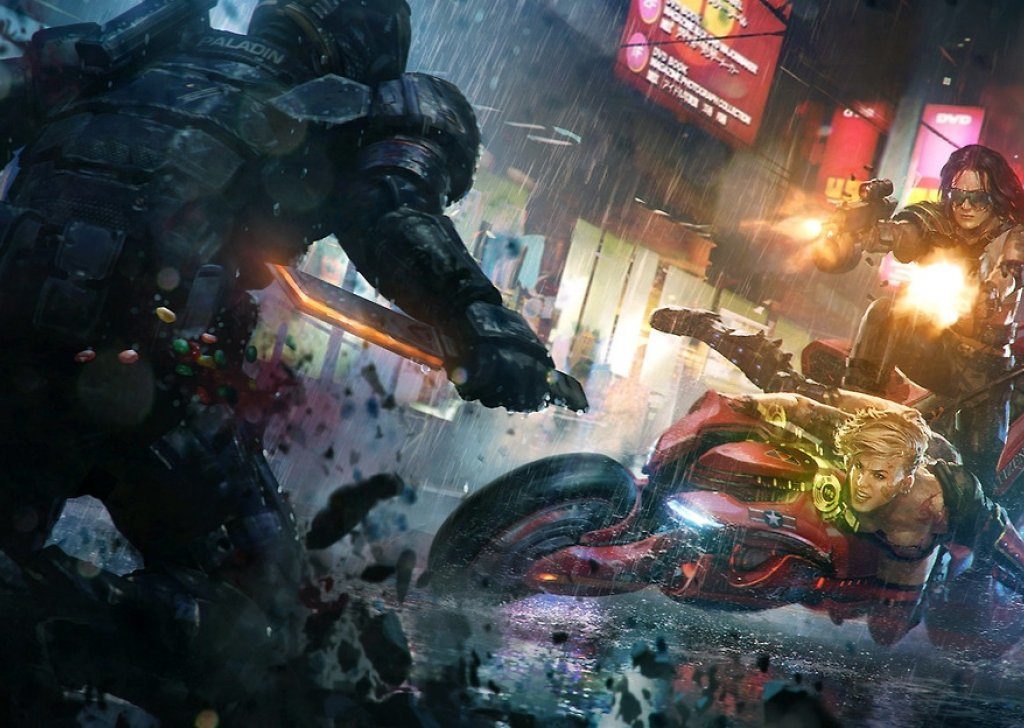
Suppression can also help mitigate a disadvantage. Some weapons have bad close up rangebands, particularly the HMG, which is -3 from 0″ to 8″. In this case, throwing a model into suppression can have a pretty dramatic effect on odds. A Fusilier HMG versus a Zero within 8″, not in suppression, only has a 40% chance of survival.
| 58.24 | 36.83 | 4.94 |
In suppression though…
| 35.19 | 40.02 | 24.79 |
This is a complete reversal of the dice odds! We now have a 65% chance of survival! In short, using suppression to cancel the bad rangeband (and add burst, of course) is quite important.
Dealing with suppression is an exercise in lateral movement. Basically you just want to negate all the benefits of suppressive fire. Common tactics include:
- Speculative Fire – Dropping a grenade on the model in speculative fire from out of LoF has several benefits. If they dodge, they’re now out of suppressive fire. If they don’t dodge, you get a normal roll, and even if they pass ARM and survive, they probably have to pass a guts check to stay in suppressive fire.
- Hacking, Jamming, Pheroware – If the model in question is vulnerable to either of these types of comms attack, they’re faced with the same problem. Either they reset and break suppressive fire, or they take a normal roll.
- Out Ranging – If you shoot from outside of 24″, again, you’re forcing them to break suppressive fire or give you a normal roll. Rifle carrying LI troopers are great for this, because you have them, they’re often in a second, smaller combat group, and they’re likely not integral to your overall combat plan.
- Direct Template Weapons – No roll required! You’ll probably die, but hey, you’re trying to remove the suppression fire piece, and you’re probably a cheap warband.
- Mod Stacking – Suppression fire has no positive rangeband, so if you can stack some negative mods from ODD, cover, etc., you might be able to zero out the model in suppression and get normal rolls.
As you can see, there are lots of ways to deal with suppressive fire, so make sure that when you use it, you’ve considered:
- Could I be doing something better with this order?
- Do I actually need to be in suppression? Am I just out of ideas?
- Where are my opponent’s likely answers to my model in suppression? Are they nearby and easily usable?
- How many orders am I likely to drain from my opponent when going into suppression? Does the order drain justify my opportunity cost?
Hopefully this gives you some inspiration and structure for your suppressive fire decision making, both in the active and reactive turn.
Don’t forget to write in for a chance to win a blister of your choice! All factions are welcome. Good hunting, Bromads!
